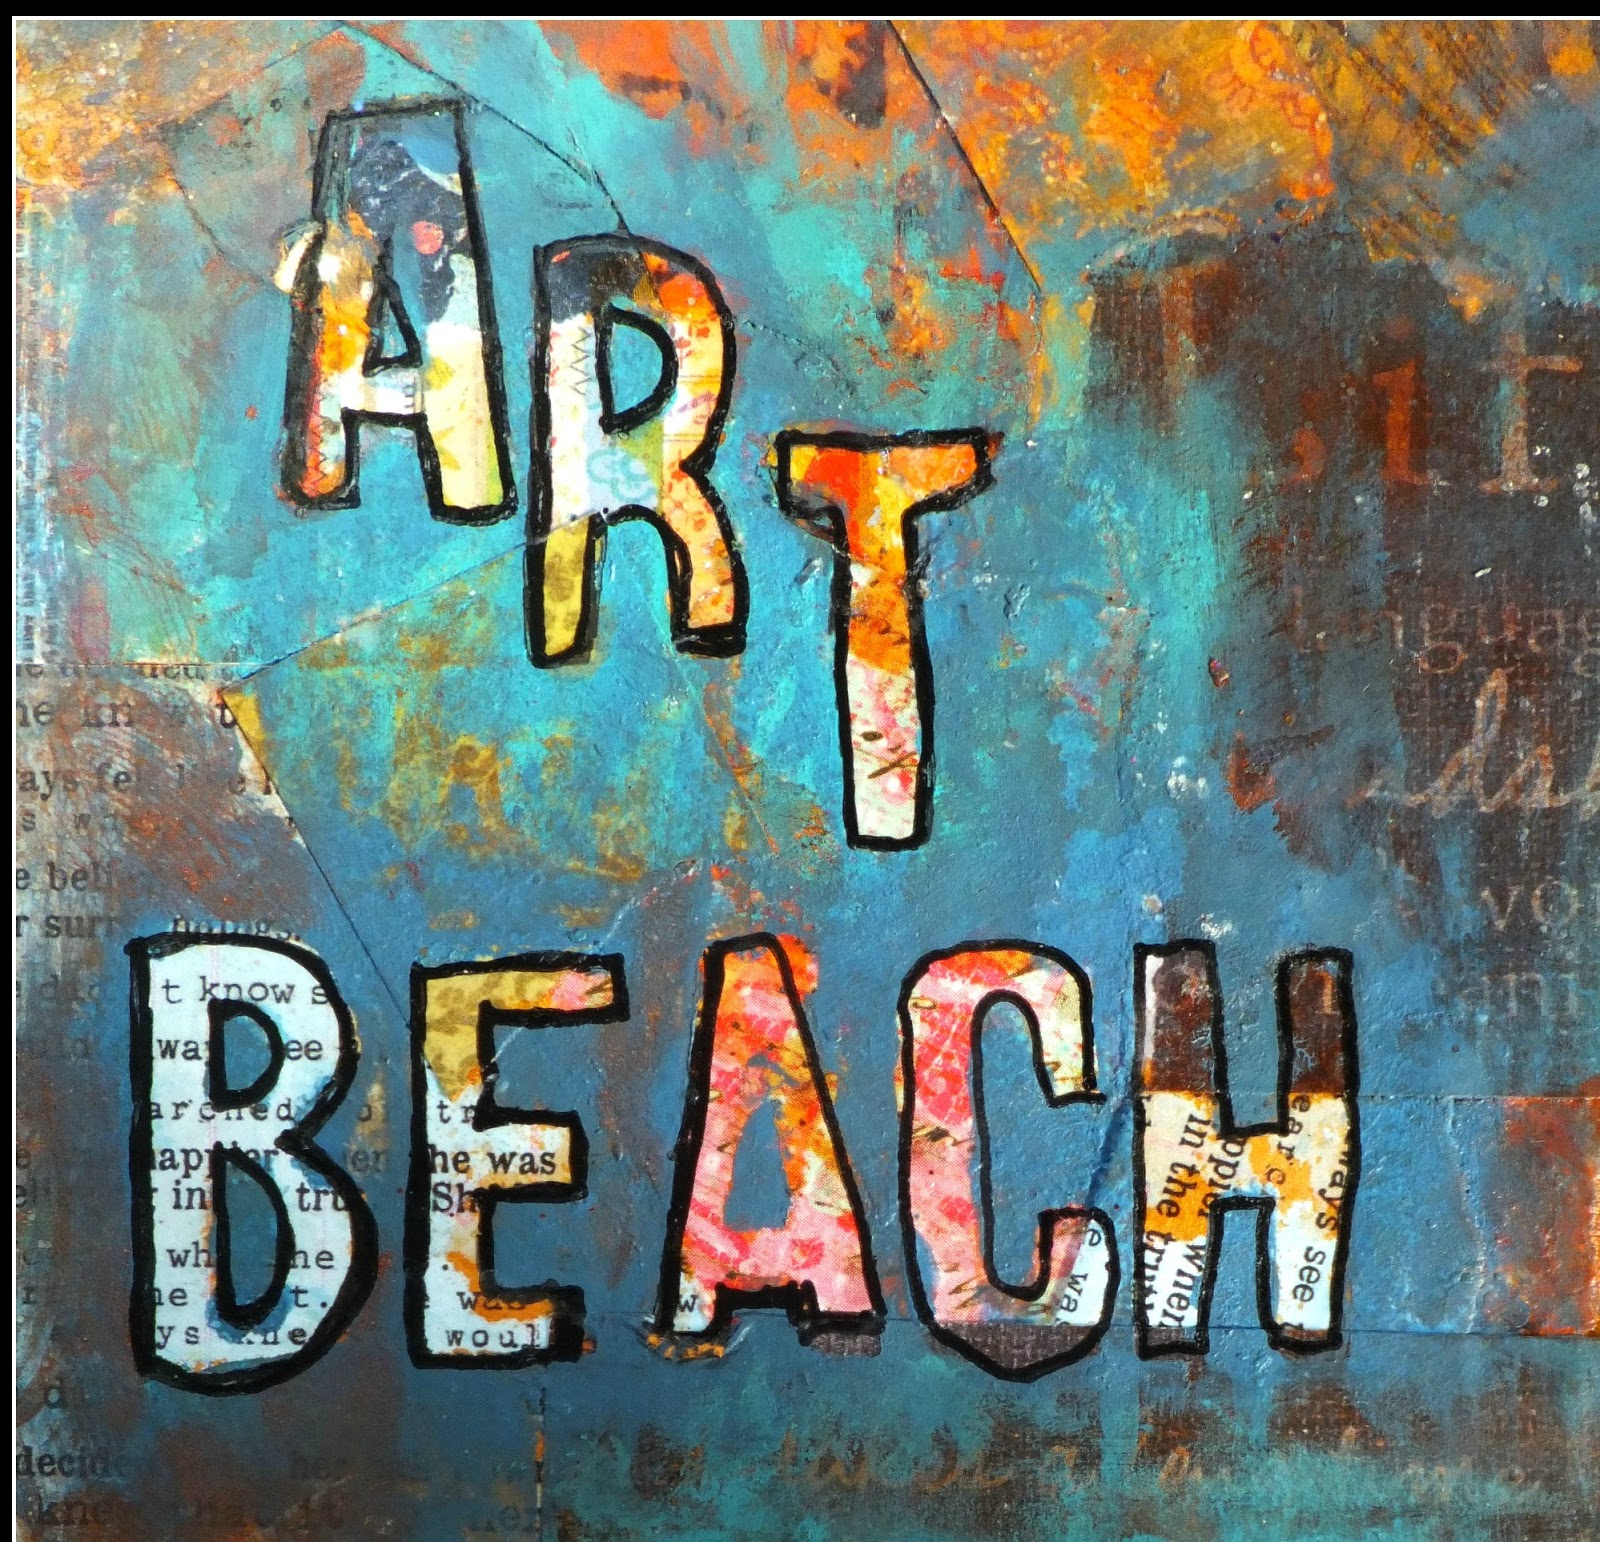
Wednesday, May 15, 2013

~Brighten Someone's Day~ Arnold Grummer's May Design Team Post


Brighten Someone's Day

With "Spring in the air" the thoughts of beautiful pots filled with flowers, cut flowers and veggies from the garden and it all seems like heaven! I feel it is so important to share our loves with others in the hopes that we may spark a bit of love in someone else and brighten their day! This months Arnold Grummer's Design team project that I created is about just that! Just the look of the beautiful handmade papers that can be created from Arnold Grummer's Papermaking kits  makes this project so much more special! These little "seed gift packets" contain not only a packet of seeds surround by beautiful handmade paper but also some uplifting verses to help inspire and put some love into someones day!


~Supplies~

A favorite sheet of your handmade paper using Arnold Grummer's Handmade Paper Kit
 Several Packs of Seed ( flower or vegetable)
Stamps with verses
Stamp Pad
Glitter Glue
Glue stick
 Liquid Pearls
Paper Ephemera ( birds,hearts,flowers ect)
Ribbon to tie the cards 


1) Begin by cutting the handmade paper to a card size. and fold in half.
2) Use the glue stick and glue the seed packet to one half of the card.
3) Have fun now decorating the  card with stamps/paper ephemera/glitter glue and    create something beautiful to share with family and friends!


Have a beautiful creative day and Enjoy!!
~In love and Faith~
Sherri

Sunday, May 12, 2013

~A Fun Little Twist~ The Robins Nest Design Team Project for May!!


  ~A Fun Little Twist~

I have always enjoy creating new ideas and ways to" reinvent" so when this months design team project was centered around the NEW Flames Line  Cardstock from the Robins Nest I kept visualizing flowers rising from the flames... must be because it is Spring here :) So I decided to go with the flow and create a "garden" journal page from it~ I know crazy but call it "spring fever" I guess!

~Supplies~
Robin Nest  New "Flame" line cardstock
Mod Podge
Black Gesso
Journal Page
Ditto Spray Glimmer Mist
Acrylic Paints
 Small paper doily 
Swirl stamp
White  ink pad
"Blessed" Rubber Stamp or something similar
Black ink Pad
Black Pitt pen for outlining


 I began with the New "Flames" Cardstock paper and pasted it to my journal page with Mod Podge

After that I used black gesso to cover the top portion of the paper ( randomly) to create a dark background and to provide a base for the rest of the mixed media


I then used "Ditto" Shimmer Mist and created drips for the stems off the flowers. I wanted that sheerness so the flames could still show through.


Paper doilies always come in handy and were used here as a stencil to create the light airy feel of the flowers on the stems.


  Since I really wanted larger flowers as well I added several here to create more of a focal point.


 I also wanted some  sort of a border so I used a piece of a stencil that had swirls, to go around the page and to introduce more color. In the right hand corner you can see I added a "Blue Moon".
I continued on with dots of paint to outline the flowers and to have them stand out more. I outlined the flowers,leaves and stems in a black pitt pen .As a final touch I used a white stamp pad and stamp with swirls on it and went around the edges to add texture. I then added to the bottom of the page, one of my favorite words stamps~ Blessed~
This was a very fun creative process and who would have known it all started with The" Flame" embossed cardstock from Robin's Nest! They have a great selection and are all on sale this month!!
 Have a beautiful creative day and find something unique to start with to then totally turn into something different!


~In Love & Faith~
Sherri

Monday, April 15, 2013

"Life Happens..... Smile! "Arnold Grummer Design Team Post-April


"Life Happens... Smile"

A funny thing happened on the way to creating this project! It got ugly... I had this great idea I wanted to try~  using embossing powders on the handmade papers created with Arnold Grummer's Handmade Paper kit and unfortunately, it didn't turn out the way I had hoped. The paper was just too porous to get a good shiny embossed finish. So.... I improvised and how funny that the "cover up" I chose turned out to be just what the situation  at hand was! "Life is what happens when you are busy making other plans"... It couldn't have been more perfect for this project! Allot times as artists, we might have a plan in mind but because of one thing or another,it changes into something more interesting and unique ~ even better than you might have planned! So I have just learned to go with the flow and let creativity take over and lead me wherever! Art should be fun.. not stiff and try not to be attached to the end result.. its way more fun that way!!

For this card project I started out with a square of handmade paper  I had created with Arnold Grummer's Paper Making kit and used my Bigkick for embossing the paper.


 If you have seen my recent design posts you will realize that I have thoroughly enjoyed using it!! So I embossed the handmade paper with a background design and my thought was to experiment with embossing powders on it. That didn't work well so I then looked for a focal piece to cover up the area that I didn't want showing. I also added rub-ons down each side.
 I had created some fun  artsy cards using small playing cards that I had applied to collage papers then used gesso over it and when dried... stamped,painted and doodled on them.


  I was so happy I found them again and decided to use a large piece for a background and then add the small card with a stamped saying off to the side. I  then mod podged all to the handmade paper card.

At this point I just fine tuned ...outlining in big brush pens, paint and Pitt pens and  then added a pretty little butterfly!


 I was very happy with life's alternate plan:) Below is the supply list:

~Supplies~

A card size piece of handmade paper and collage paper for backing
Embossing folder of choice
Embossing machine ( I have a Bigkick)
Small cards that have been backed with collage papers and designed with paints,markers,stamps ect
Mod podge
Rub-ons
Big brushes
Assorted paint colors 
Pitt Pen in black
Metal focal butterfly


If you have never created your own handmade papers with beautiful botanicals,glitter,mica and specialty papers... you are in for a treat!!  It is so very easy ~I love all of Arnold Grummer's items for making my own beautiful and unique papers!! And don't forget FREE Shipping over 75.00!!

Have fun and enjoy the creative process... Wherever it may take you!!
~In love and Faith~
Sherri

Sunday, April 14, 2013

"Grab A Little Book Bling!!" The Robin Nest April DesignTeam Project


~Grab A Little "Book Bling"~


In as much as I love progress one thing that I am not happy with is the feeling that books will soon become obsolete. Dont get me wrong.. I  do have a kindle and just love it, but there is nothing like holding a book and making that connection with what I call "a gift" in your hands. I was brought up loving to go to the library and  as soon as my kids were old enough  I took them to the library every week and we stayed for story time as well! The time I spent with my kids reading to them was very special.. I would even include their names instead of the characters name and they would think that was hilarious!! So for this months design team project I decided to  create a very fun "spring bling" kind of bookmark and hope that you might at least  have several books you can tuck these beauties in the pages of and enjoy while reading your book!

I started with The Robins NestGlitter Sorbet carstock"   that I had previously embossed with my BigKick,cutting out the flower shapes. These are the rest of the supplies you will need.


~Supplies~

Pre-Embossed Glitter Sorbet Card stock cut into  flower shapes
Plain Glitter sorbet card stock for the bookmark
Complimentary collage papers for backing
Mod Podge
Words or phrases ( stickers or rub ons)
Glitter Glue
Liquid Pearls
Dylusion Spray
String or ribbon
 large holed beads
Black Pitt pen for outlining
Hole punch


Cut out the size you would like for your bookmark out of both the sorbet and collage papers and mod podge together~ let dry.
Glue down the cut out flower pieces where  desired and let dry.
Meanwhile apply the words or phrases on the book mark. I used some Dylusions spray on the flowers edges to add some depth.


Finish up with highlighting the raised areas of the flowers and leaves with glitter glue and liquid pearls. After that dries outline in black pen,use the hole punch at the top of each bookmark for the ribbon to go through. Add the ribbon and bead to complete this fun Look! And there you have it a beautiful bookmark that puts a little "Spring Bling" into you book reading!


~In love and Faith~
Sherri


Saturday, April 13, 2013

~10 Day Celebration of Life ,Love , Family and Living on the Edge :)


It has been a beautiful whirlwind in 10 days with so much to celebrate!


 It started with a "Spring Trip" for Nicosha and I to go to visit my daughter Ashley,hubby Joel and sweet little Opie !


 There is nothing like flying from NY to South Carolina when there is a 30-40 degree difference. It always so beautiful to see a" preview" of whats in store for us in NY with the trees blooming and flowers popping up everywhere~ A definite" feel good for the soul" eye full!


During the week we shopped till we dropped, had some wonderful meals out, visited Folly Beach but most of all had some great 'girl time in the sun and  lazy day conversations catching up. Life is too short and family time so sweet!

~Folly Beach.. Here we come!!!~


" Planet Follywood "on Folly Beach

Main Street on Folly Beach
  
Just in Case..lol


That most popular Pier on Folly Beach

The breeze is a little Stiff..lol


These amazing doors caught my eye on Folly Beach... I just love the  uniqueness and beauty of them!

Just outside of a fabulous restaurant called Rita's right on the main corner in Folly Beach

Rita's!!


Folly Beach has crabs!!!lol

Fun outside dining/ bar/ restaurant

The outside of the restaurant

Most of the shopping we did was to find things we needed for my sons wedding in NYC at the end of that week. Of course you can never find the right dress,shoes or anything when you need to.. but all in all we finally got everything we needed, I actually ended up having 2 back ups for my dress.. lol just incase.. you never know besides the price was right!
So now we are all ready (all 4 of us to fly up to NYC the Friday before the wedding..) Funny thing though when you travel you never know what ridiculous things will happen~ we seemed to be plagued on the day of flying and it came to a point when we just ended up laughing at it all!
 "Notes to self"... don't try to jam everything into your now 50 lb suitcase because YOU MAY have to lug everything through rows and rows of cars across the parking lot to an  elevator that is out of order to then have to go to the end of the airport to check in to then find that Nicosha no longer has a seat assigned to her ( mind you she did in February when i booked the flight!) At that point we should have gotten the hint that this trip would be a memorable one in more ways than one! Finally on the plane and needing to find a switcheroo for the seat next to me as  that was suppose to be Nicosha's.. So after all that worked out with her seat... the air didn't work from up above and we were all sweating are #$$ off and apparently there was something wrong with it!!. Luckily we didn't have to resort to stripping!!

At the airport in NYC the luggage felt heavier  then ever and just when  we thought the escalator would save us.... it was OUT OF Order!! Are you kidding me?? So now we are calling my son to let him know we were at the airport  to pick us up,and he wasn't answering his phone ( not to mention when we did get a hold of him he said he couldn't get to us from where he was in the car...OMG if i had to carry that luggage across streets and" over hills and mountains" It would  get ugly!! So after 45 minutes waiting for him to get to us, we were in the car and off to the hotel~ Whew!... only to find out my reservations weren't right and we were charged more than we should have for the weekend wedding stay...Like I said at this point we were just laughing at the ridiculousness of it all!! 
We all had a great dinner that night together with Beth's family too and the next night they got married.
.
I so love this picture of my son waiting at the altar for his wife to be "Beth"

How sweet... he kissed her hand when she got to the altar!

Just Married!


Tyler and Beth


Ashley & Joel


Nicosha and her big brother Tyler

Beth,Tyler & Nicosha

Tyler & Beth

This was a beach themed cake... including the sand!!:)


Reception

Everything turned out perfect for wedding  and reception and there was so much love in the room that night to celebrate the new couple~ it was awesome! Nicosha even won one of the centerpieces on the tables!!
Sunday we spent the day traveling to NYC by way of the LIRR and  the subway.....what an adventure that all was!


Here we are going to the city. Tyler,Nicosha and I! We were the only ones that posed!

Such a shame the subway is so" yucky" as there are so many beautiful large tiled areas such as this through out the  stations


Ground Zero.. new building going up and when finished, will be the  tallest in the Western hemisphere!

Very cool little stone area at Battery Park.. we never did find out what is was for though.

Battery Park on a lovely spring day!

Pretty little space of flowers at the stone area in Battery Park

Going through a cool tunnel underneath the stone area in Battery Park


"I can see Jersey from here!!!"

NYC Buildings near Battery Park


 This is such a cool picture of my son Tyler on the train.. he was looking out and I caught his reflection in the glass! The sky was beautiful coming home! That was another crazy day  for the books...but that will have to be for another time.. Life is full of amazing experiences and if we go forth with an open mind and heart..   any situation can be fun and something special filled with love and laughter (  although some situations might be more funny after a longer period of time..lol)
As I always say" live life on the edge"... and enjoy! Those  10 days were amazing for many reasons and I embrace  everything, for that is what memories are made of!

In love & Faith
Sherri