
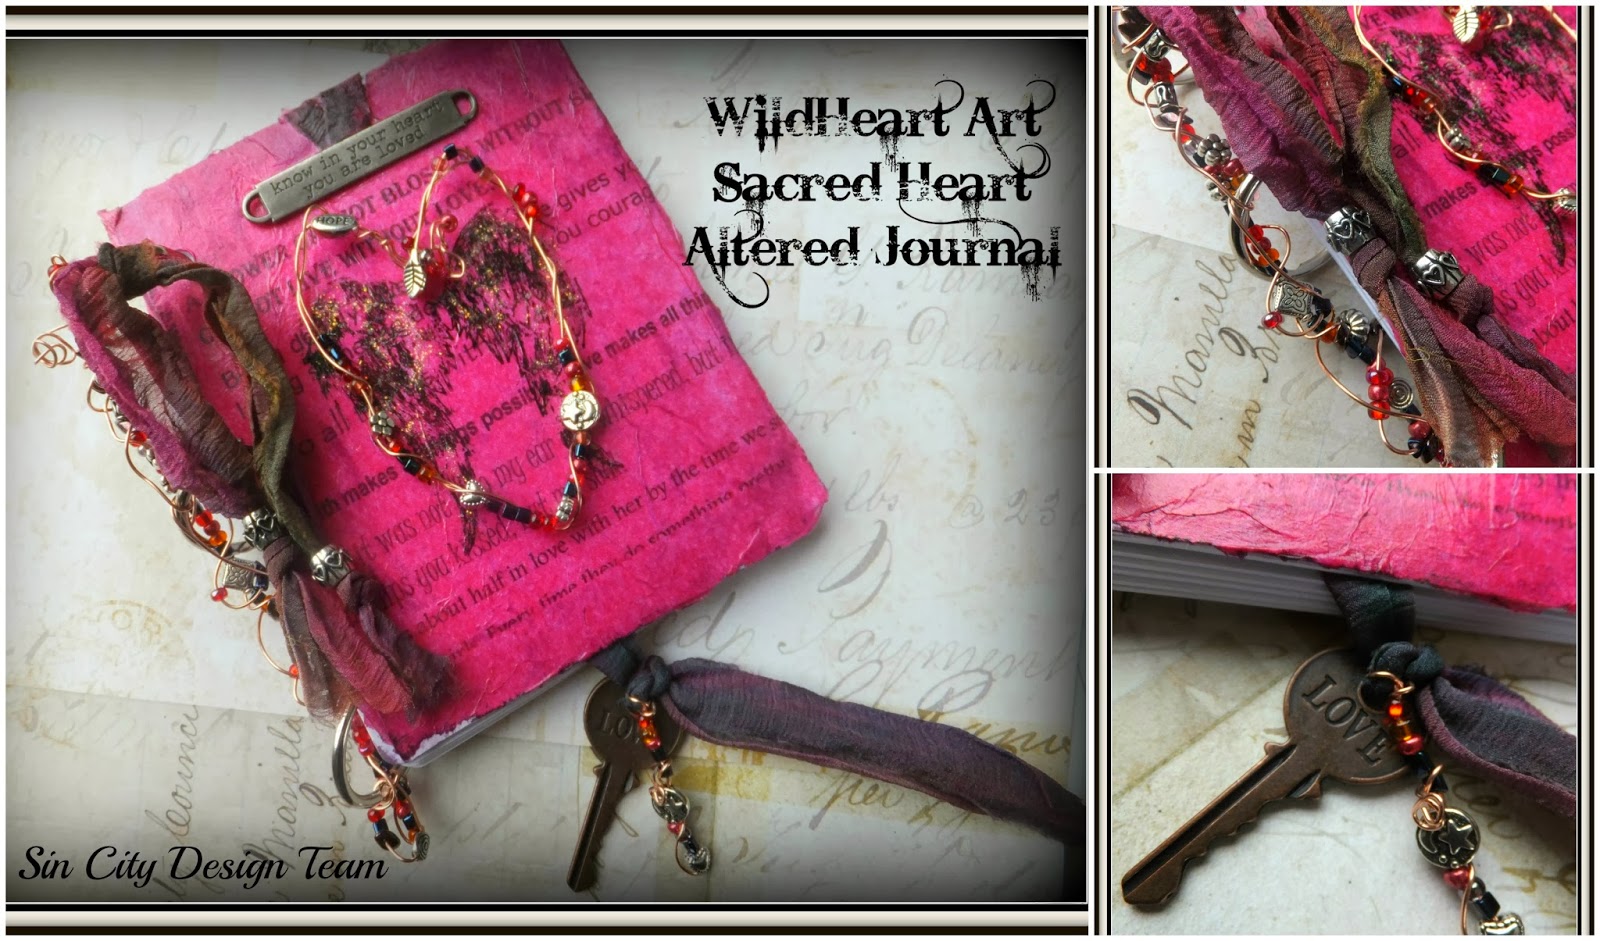
~Sacred Heart ~
Altered Journal
Featuring Sin City Stamps and Frog Dog Studio

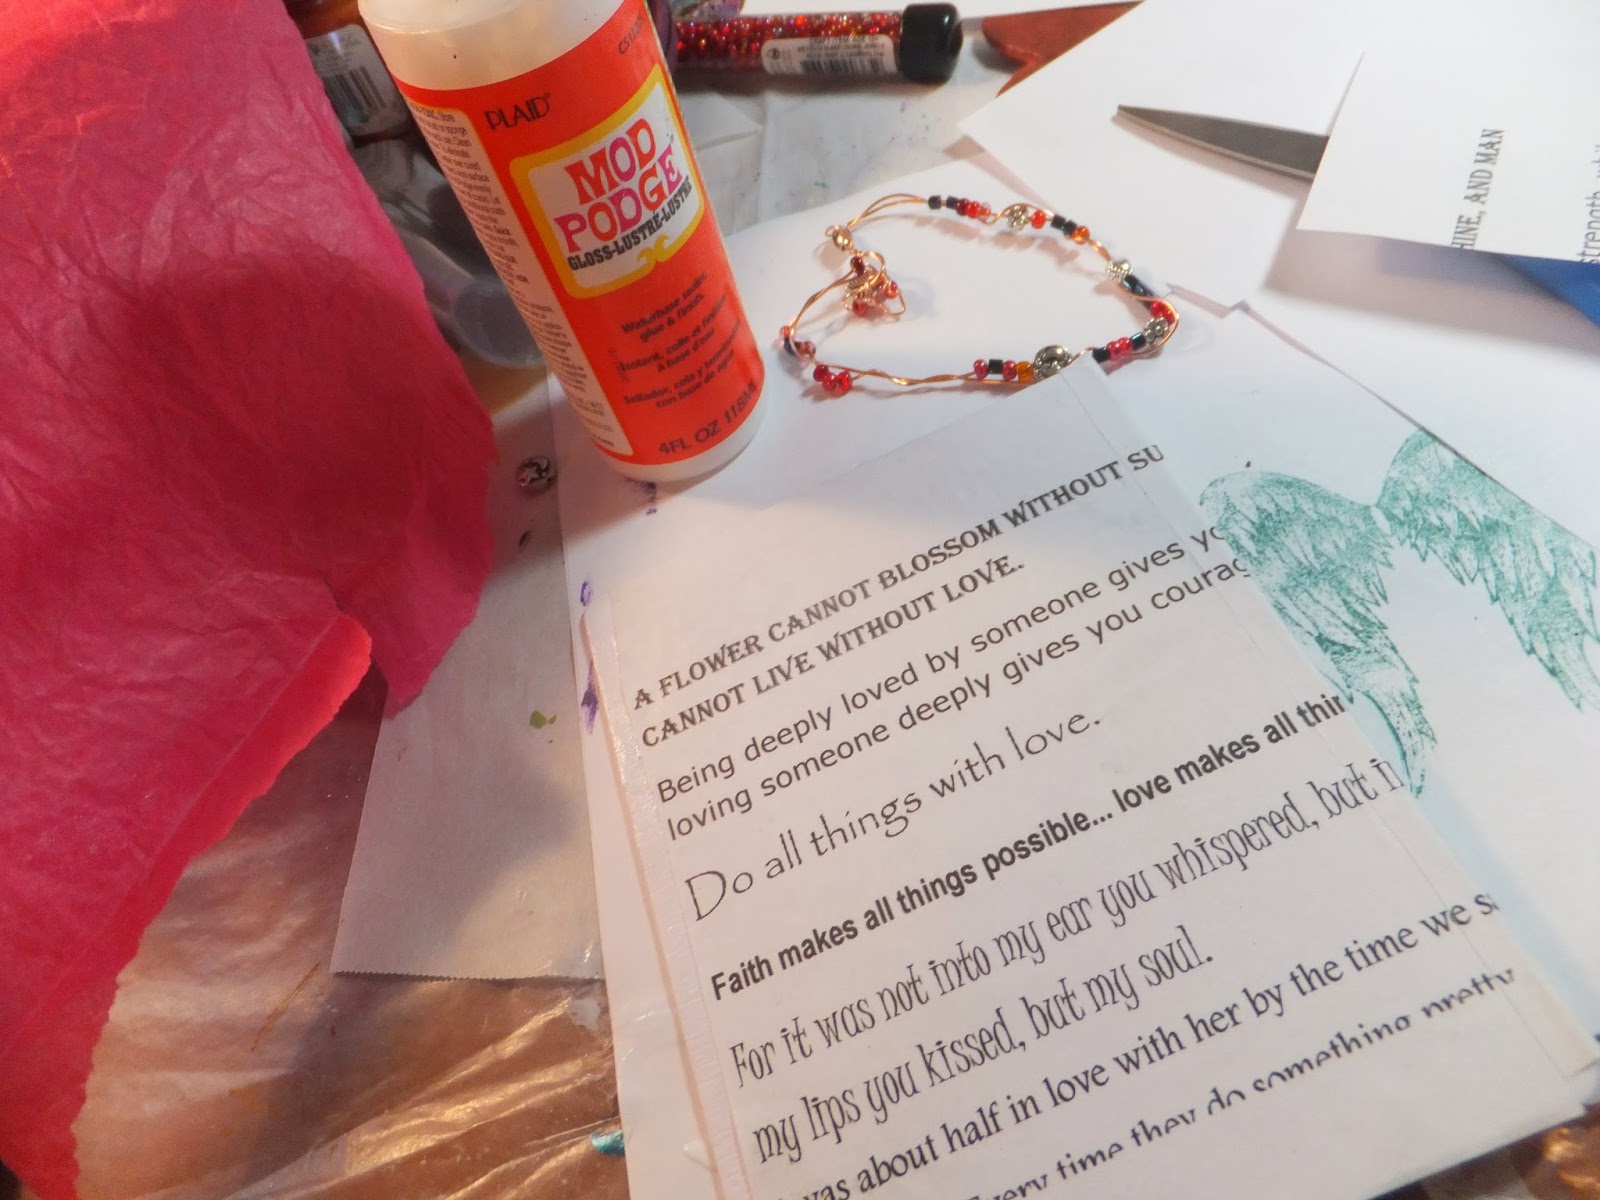

 2) Meanwhile take your journal cover and apply mod podge, then placing your sheet of quotes on top, smooth out. Apply more mod podge over that and lay down your sheet of tissue paper.I liked the wrinkled effect so I randomly flatten the tissue out leaving in some wrinkles and finished out with a coat of Mod podge.


7) On the other end of the ribbon, which will be used as a book mark. tie the "word key" onto it at the bottom and add a little beaded wire if desired.

 8) I then took the rest of the copper wire and strung some misc beads on and wove it through the metal rings after putting the book together ,securing the ends by twisting in a curly cue. I then added some more ribbon to the" binding edge "and added several beads onto the ends , knotting the ends.

I am thrilled to have been chosen as a Design Team member for Sin City Stamps and this months project also features Frog Dog Studio!
I had decided with it being the month of "hearts", I would create something that is very special and meaningful. A special place where one could write poems, inspirational thoughts and messages and have it feel "sacred". I love creating these sweet little books with lots of special embellishments, it is even beautiful just to hold.
~Supplies~
( supplied by Frog Dog Studio)
Momento (Black and Sweet Plum) stamp pad ink
Tissue paper in hot pink
A copy page of your favorite quotes
Mod Podge
Glitter glue
Artistic wire (copper) -20 gauge- approx 2 feet
Assorted beads- 6mm
Ribbon- 1-2 feet
Inspirational metal sayings ( I used Tim Holtz)
Metal Word key( I used Tim Holtz)
Hypo Cement
`1) Start by gathering your materials and using your copper wire, shape into a heart. stringing beads along the way. Double back with the excess wire to reinforce the shape and set aside.
3) Apply the "Sin City Wings" stamp over top of that with black ink and let dry (making sure to center it in-between where your wire heart will fall on the front). Glue the metal heart down with Hypo cement ( I only touched it with glue in random places to have the heart appear as it is floating)
4) Tear the excess tissue and paper edges off around the cover
( tearing gives it a nice organic feel)
5)Apply the ribbon( about 10") at the top of the cover gluing in place to fall behind.
6) Glue down the inspirational saying at the top over the ribbon end.
This was such a fun and creative journal to create and such a unique treat when storing special moments or memories into it! I hope you enjoy your creative journey and have a beautiful day!
Please visit these wonderful companies below~ they have lovely creative supplies and Thank you for stopping by!
Stay tuned for the next On line workshop~ BlessingWays~` if you enjoy creating these lovely art books!! Coming in February!
In Love & Faith
Sherri
Hmmmm...well I thought I wrote a comment but nothing published so let me try this again!! LOL:) Sherri this is such a sweet place to put your fave quotes, poems, inspirations, etc. Love your step by step post...its always so nice to see how one creates. Thanks for sharing and congrats on the DT!!!
ReplyDeleteThanks so much and so happy you stopped by! :) Happy creating!
Delete